First off, I owe a huge thank you to my fantastic neighbor who sent me a text message to see if I’d be interested in attending a Lavender Wreath Making class at Red Ridge Farms! Our neighbors rock!
Second, I learned so much about lavender at this event!
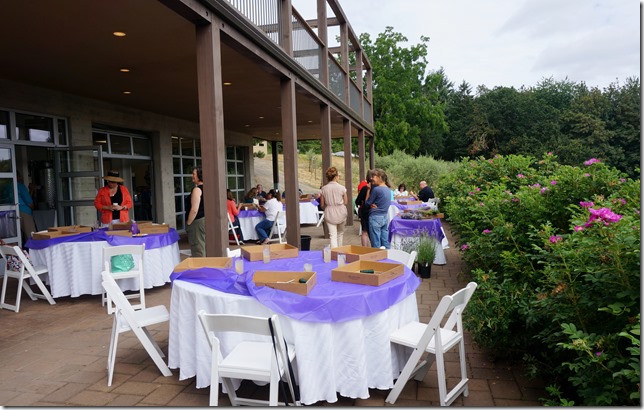
The class was held at the Olive Mill Building on the Red Ridge Farm property. You may recognize this place from a post I did a while back about The Oregon Olive Mill! It was a beautiful day in Yamhill County and being outdoors with other crafty women was just what my heart needed.
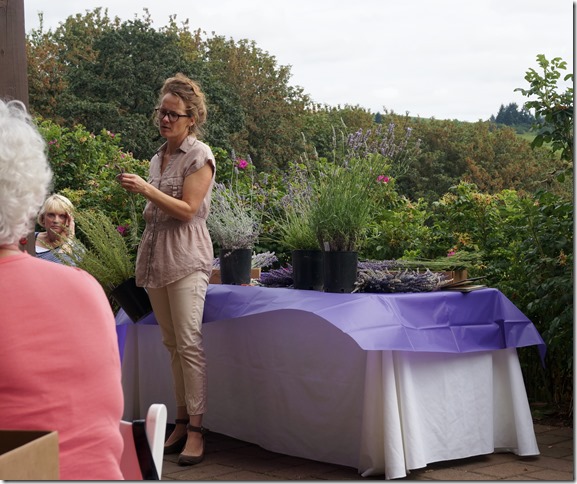
And this woman was so knowledgeable, she knew everything about lavender. I was expecting just to learn how to make a wreath and I left knowing about the different varietals including their looks (i.e. green stems versus grey stems), smell, and culinary use. I also learned when and how to prune the lavender…trim in the fall and cut off all the green except for one inch around the entire plant.
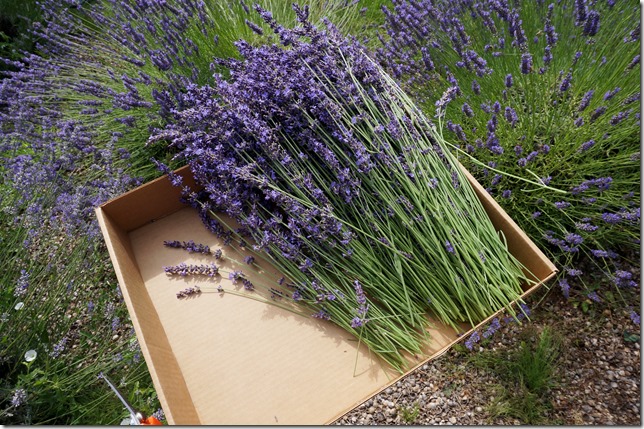
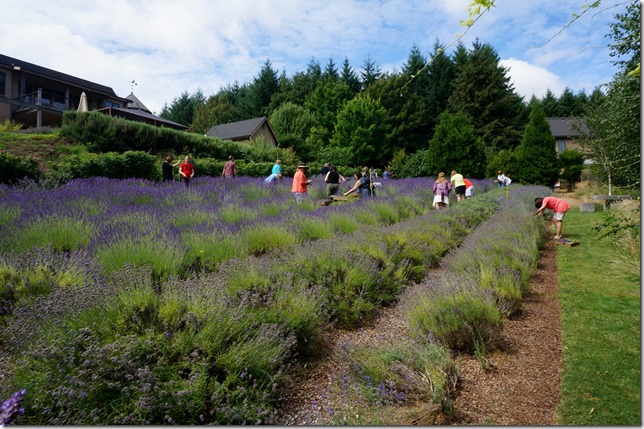
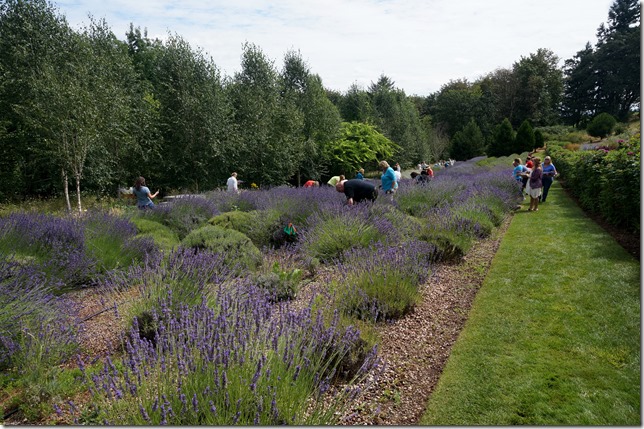
After we were given some basic instruction, we were sent out into the lavender fields to start cutting for our wreaths. I basically just found a bush that I liked the color of and started cutting away clumps of lavender. Honeybees were all over the place, but they were happy bees and didn’t bother anyone cutting the lavender. Red Ridge Farms has more than enough lavender to go around!
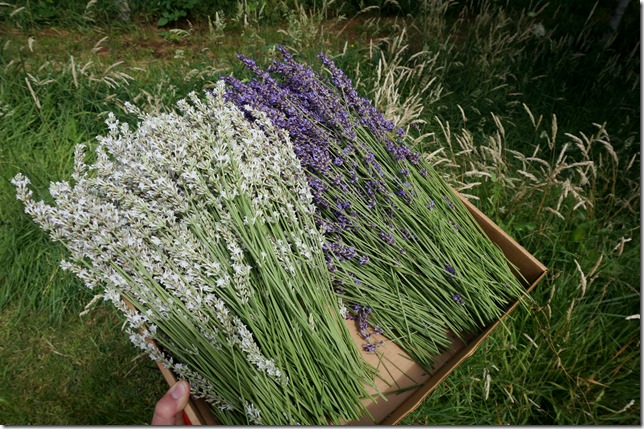
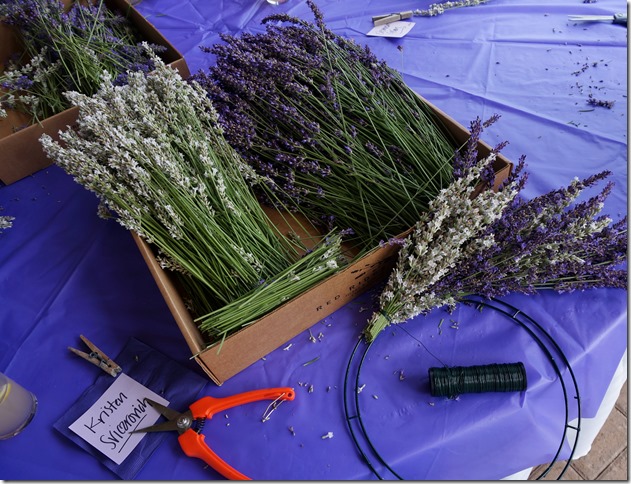
I decided to pick both white and purple lavender to give my wreath to give it some visual interest. I had never seen white lavender before, but it smells just like regular lavender and is really pretty!
And here are some of the women in my class gathering lavender for their wreaths.
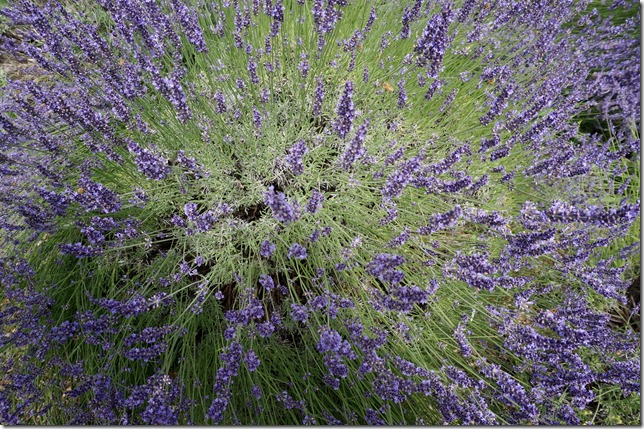
Can you spot the honeybee?
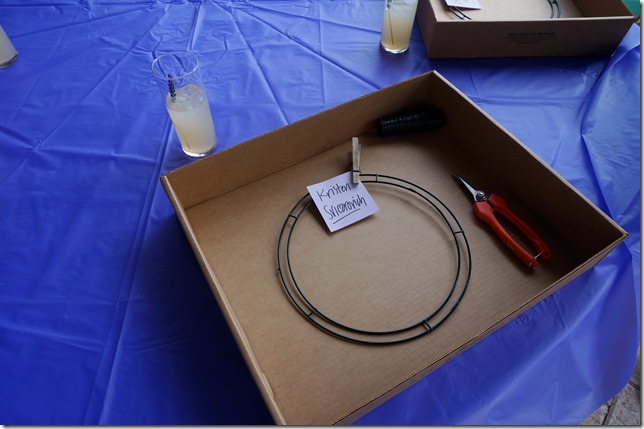
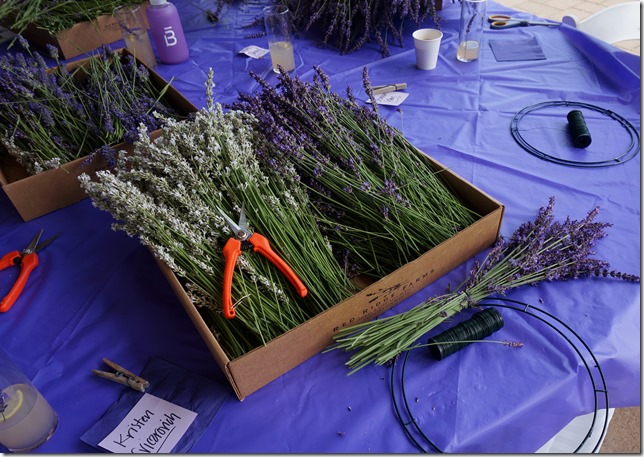
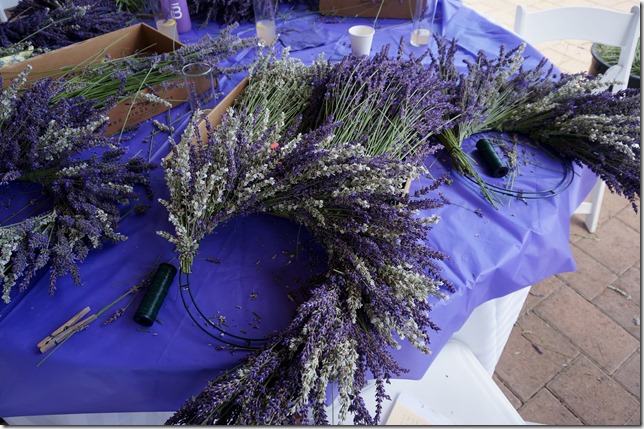
After collecting some lavender, I headed back to my table to start working on the wreath. The trick to making a wreath is to have a wire frame and some small gauge craft wire. You basically just grab a handful of lavender and start wrapping it tightly to the frame with your wire. The more lavender you let “hang-off” the outside of the wire frame, the larger your wreath will be.
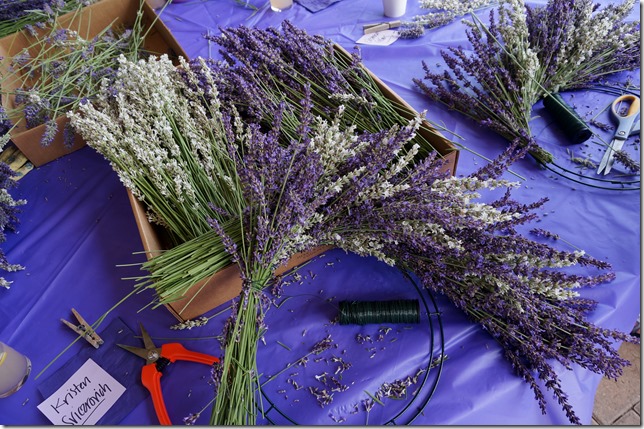
Also, once you get a clump secured, be sure to cut off some of the extra green stems to keep things clean as you work on the wreath.
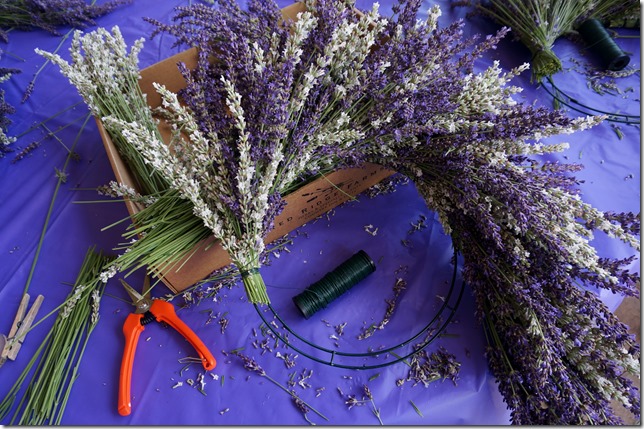
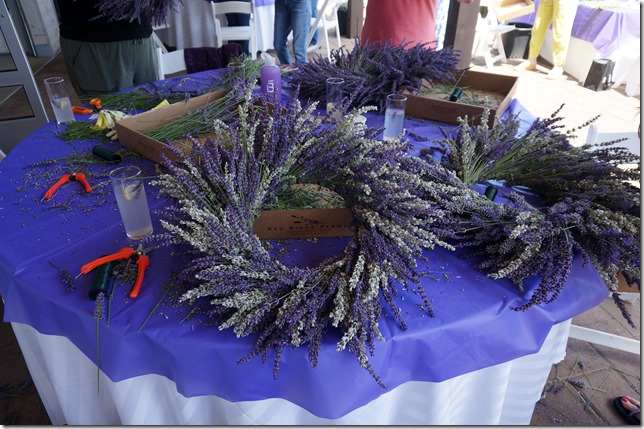
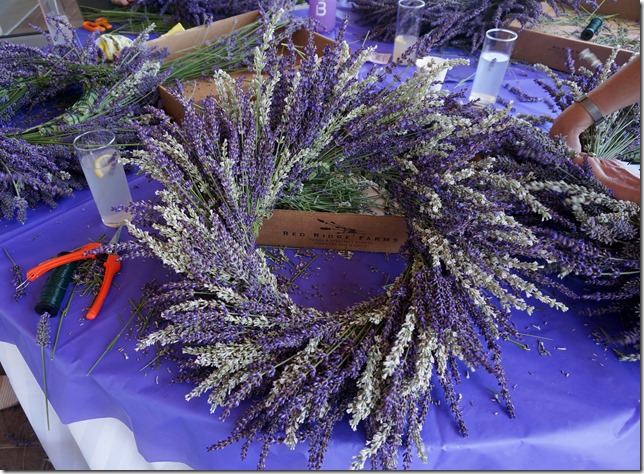
You can see in the photo below how I cut off the remaining green stems to make room for the next bundle of lavender. To create a layered effect I alternated between clumps of purple and white lavender.
And you basically just keep wiring bunches of lavender to the fame, making sure not to let you wire get tangled.
And here is my completed wreath. However, I will tell you that about half way through making my wreath I had to go back down to the lavender field to get another full container of lavender. It’s amazing how much lavender you use, good thing they have a whole field of it!
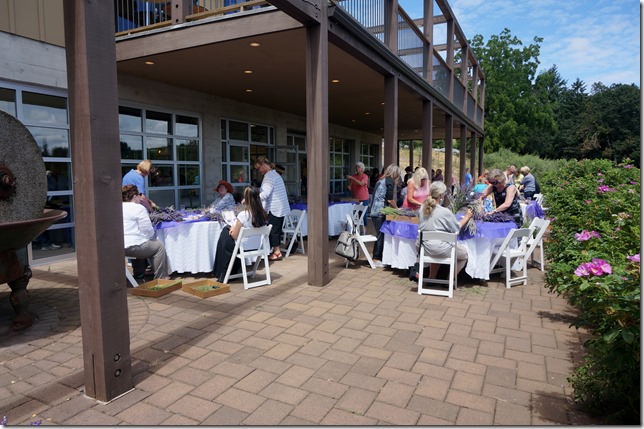
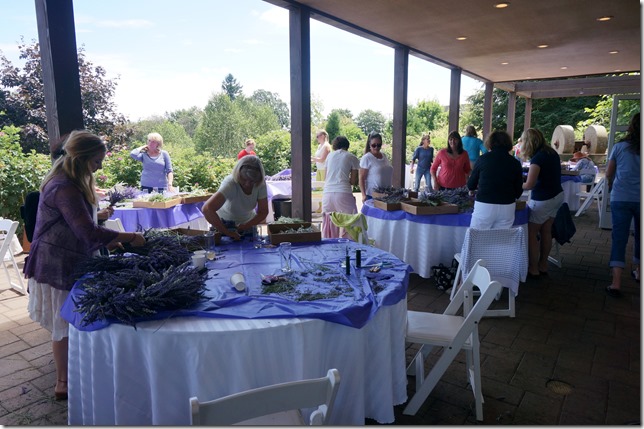
And here are some pictures I took of everyone making wreaths. Crafting with a group is always so much fun!
I was happy that our table ended up being under the deck…we spent the entire two hours in the shade. I really enjoyed wandering around and look at everyone’s creations. Every single wreath was different and they were all so beautiful!
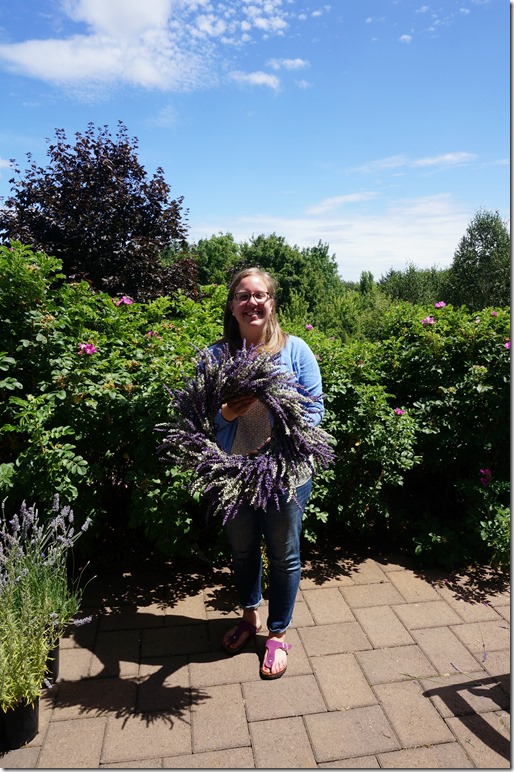
And here I am with my completed wreath! I was excited to get it home and hang it on the wall, but learned that you actually need to lay it flat for a few days so all the lavender can dry. Otherwise you’ll end up with some droopy looking lavender on the top side of your wreath.
I’ll be marking my calendar to attend this event next year, nothing beats the smell of fresh lavender floating through your house!
