I know I’ve been a bit quite on the honeybee front, especially after our visit to Ruhl Bee Supply back in March, but we’ve really been doing all sorts of work to get ready for the spring beekeeping season! I’m always hesitant to do a blog post before the finished project is ready to present, so you’ll have to forgive me with the amount of pictures and text in this post…this project has been a long time coming!
It started with a conversation between myself and The Renaissance Man about beekeeping and what we really wanted in the year ahead. We unfortunately lost one of our hives this past winter (we’re pretty sure it was a sugar ant invasion), and were trying to figure out our strategy for the coming season. I wanted to get involved this year with a few hives of my own, and so the decision was made to add two more hives and replace the hive we lost. And what does a crafty girl do when you give her bee hives? She paints them!!!
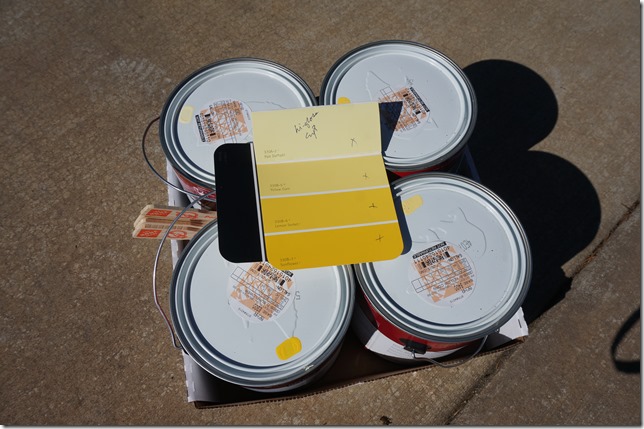
I had all sorts of fun trying to decide how I was going to paint my hives. The Renaissance Man went with simple white hives last year, but with a rainbow of colors why pick white? The reason most beekeepers pick white is because it reflects the sun and keeps the hives cooler on hot summer days. But lots of beekeepers also choose to paint their hives, so after much debate, I decided to go with yellow! Yellow seemed close enough to white, and also was a good candidate to try out a technique called ombré, which is a color gradient….dark yellow, medium dark yellow, medium yellow, light yellow…
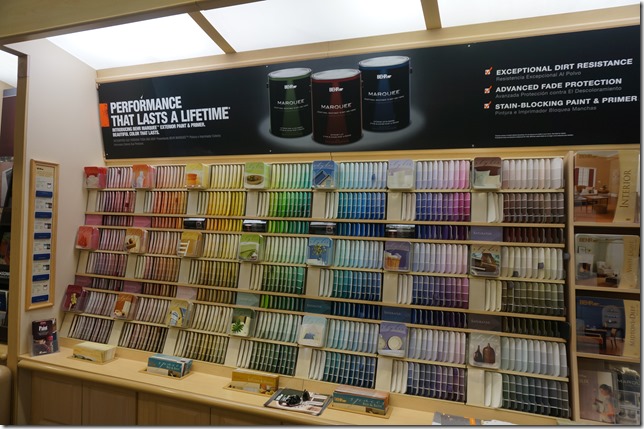
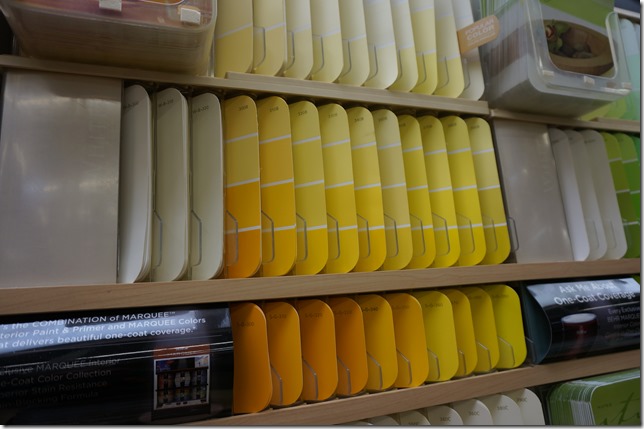
Home Depot is a dangerous place…so many colors…so many choices!
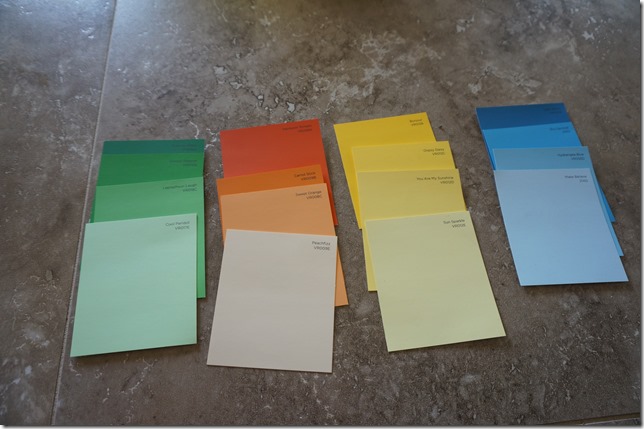
You can see the my yellow ombré in the paint chips below.
But before we get too far down the road to painting, we first had to construct the hives. Thankfully The Renaissance Man did most of the work for this part of my project. He constructed a few hives last year, so he had the hang of it!
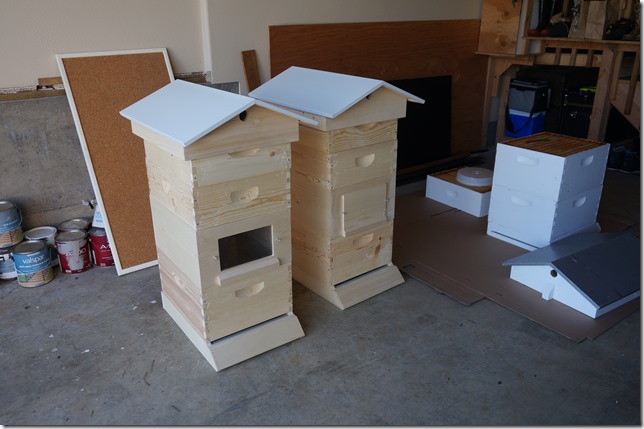
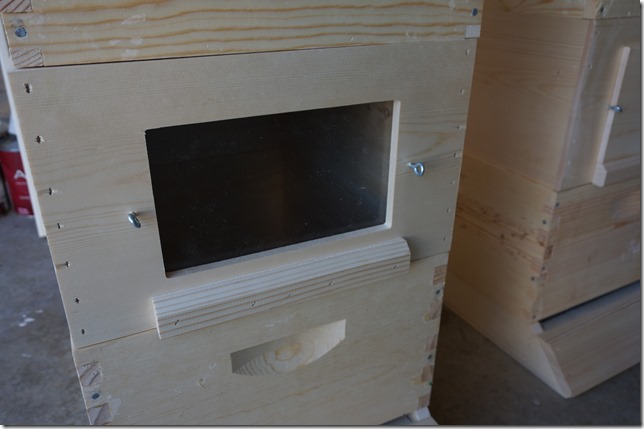
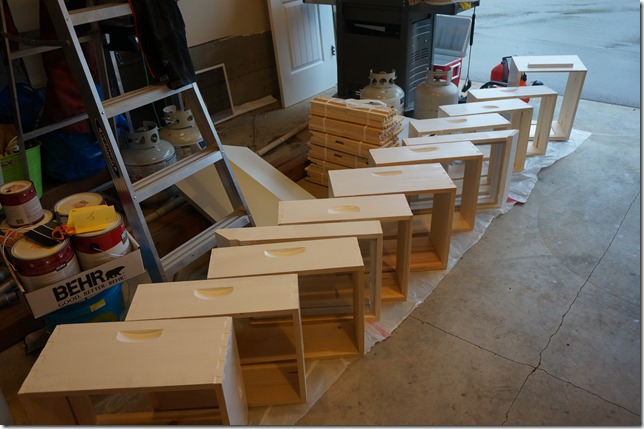
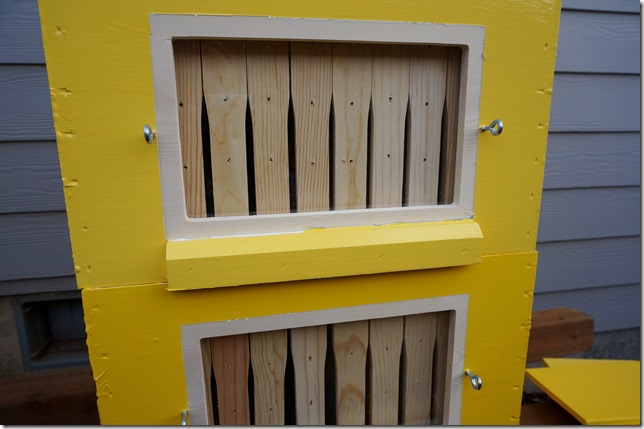
Before long I had two new hives! I even picked out a hive body that has “windows” so that I can check in on the workings of the hives from time to time. The window boxes were a total splurge, but they were just too cool not to have!
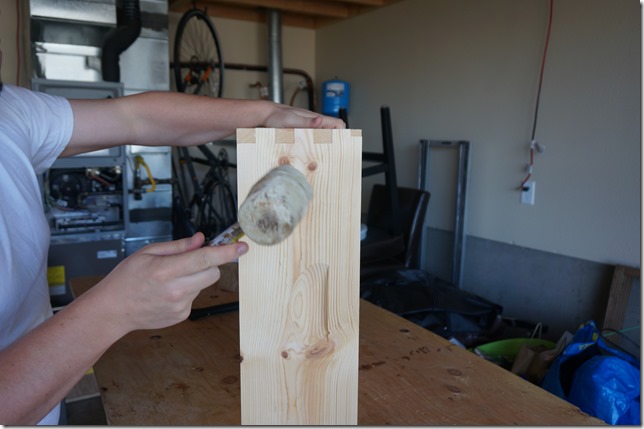
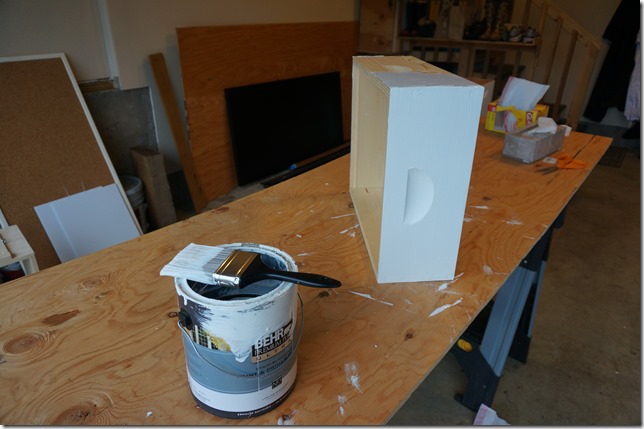
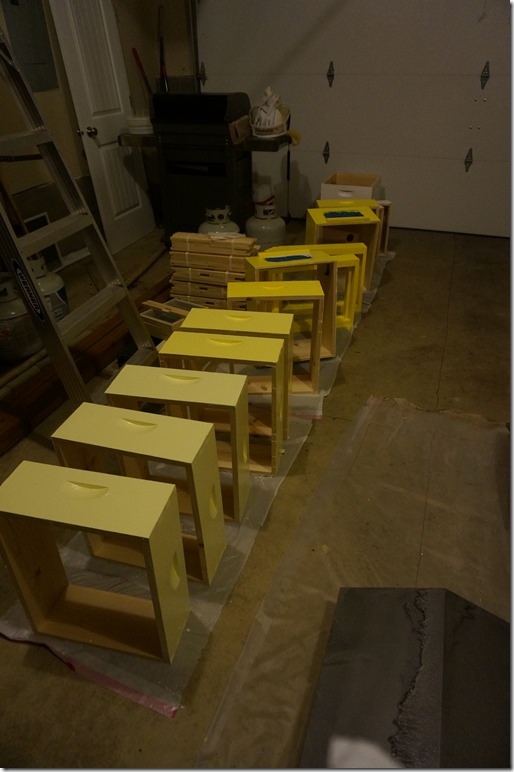
Up next, priming all of the hives…I painted, and painted, and painted…and then painted some more.
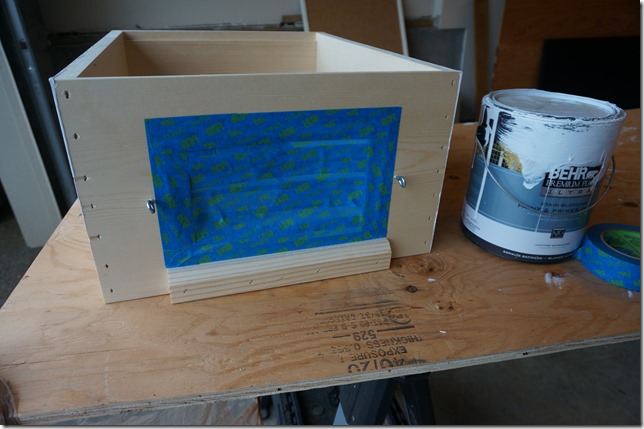
And when it came to the “window hives” I made sure to tape off the opening.
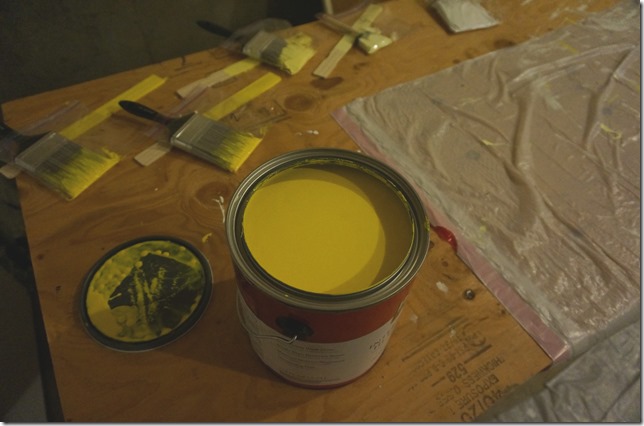
Then it was finally time to paint the hives yellow…”they call me mellow yellow…” I spent many evenings after work painting in the garage. The nice thing about painting is that your mind can wander…I could just envision our hives this summer buzzing away in the backyard.
The tricky part about painting the hives yellow is that you have to paint them several times. Yellow is actually a pretty difficult color to paint since it’s generally so thin. Each box received four coats of high gloss yellow paint.
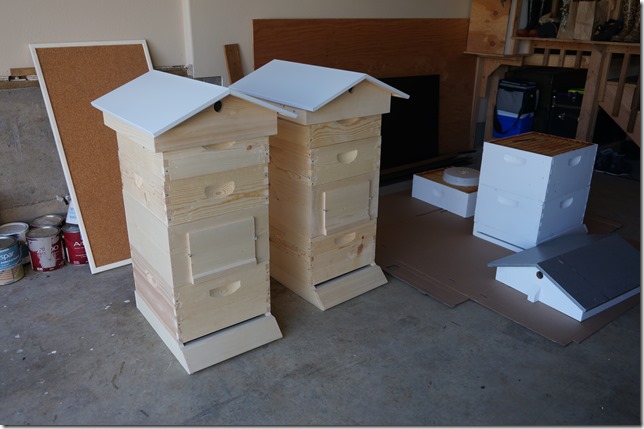
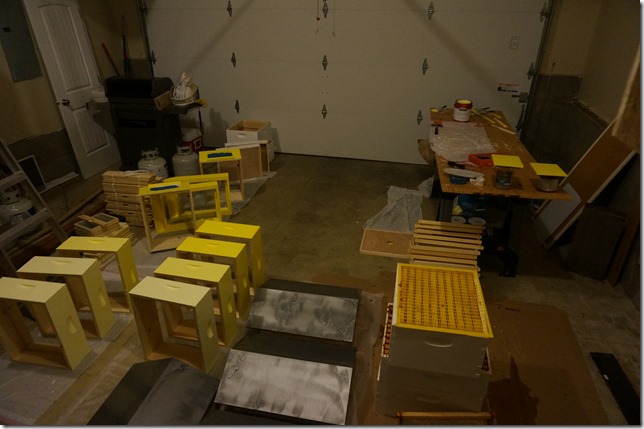
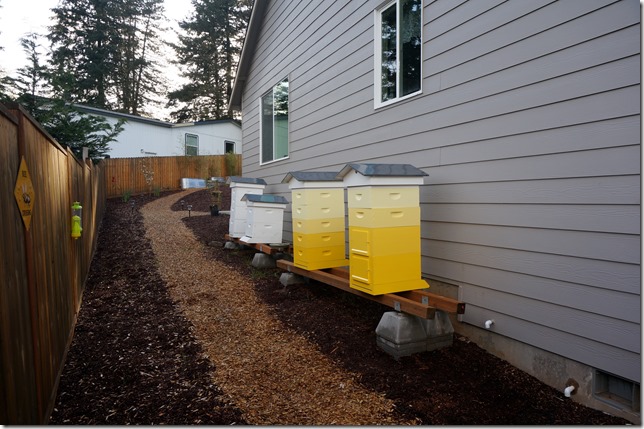
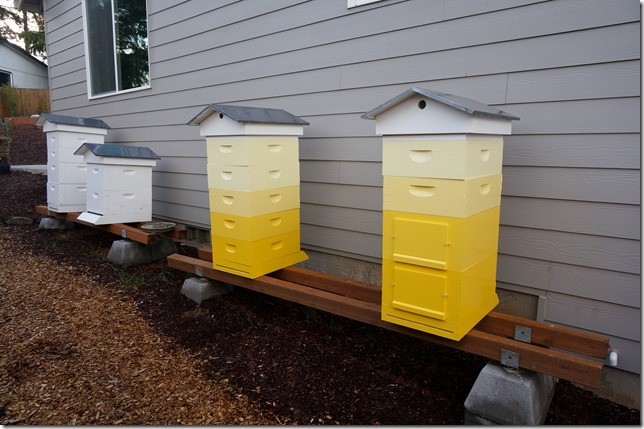
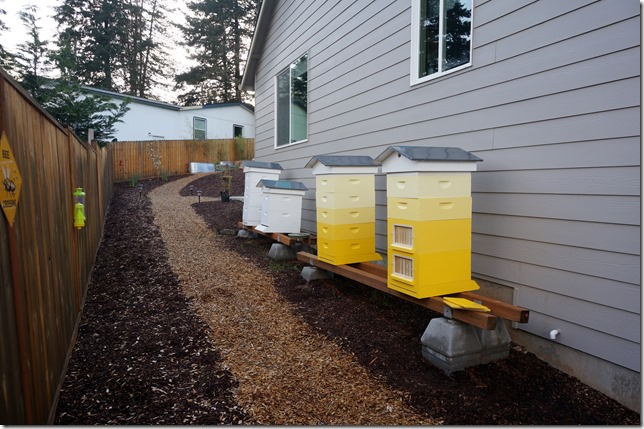
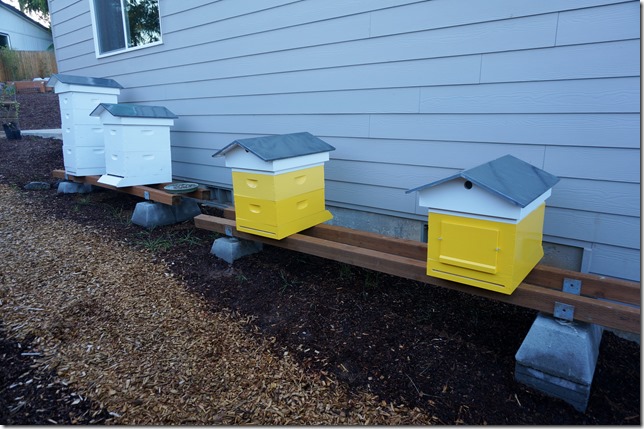
And here is how they turned out! I couldn’t be happier with the end result. I had planned to paint some black details on the hives, but unfortunately I didn’t get the details painted before our honeybees arrived.
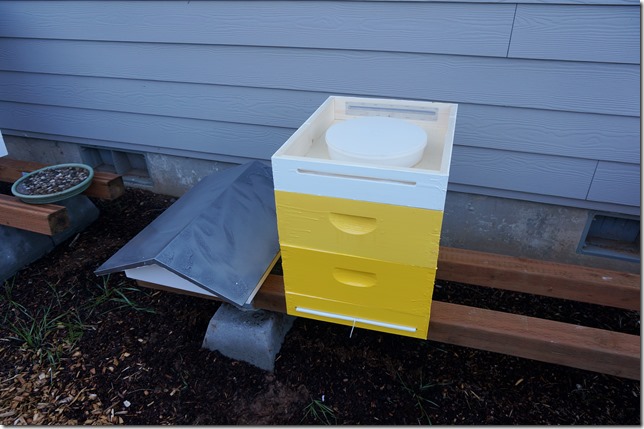
But I sure do like the way they turned out! When our bees arrive we won’t need all of the boxes shown, but by the end of summer this is how they should look.
Speaking of honeybees…
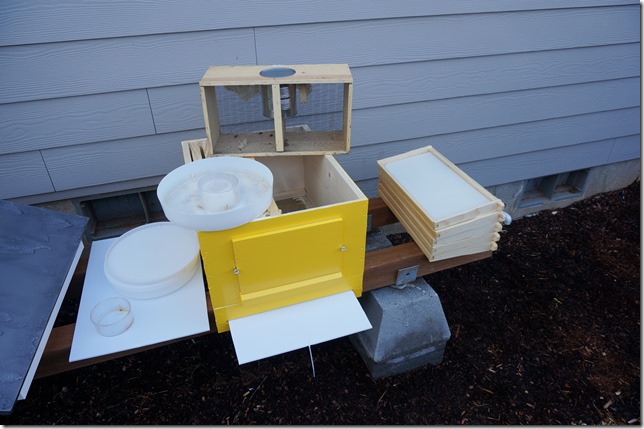
We received our honeybees this year on April 15th…talk about a tax day delight! ha! In preparation for the bees we used the two bee packages from last years bees, to make sure the hives were ready when the real bees arrived.
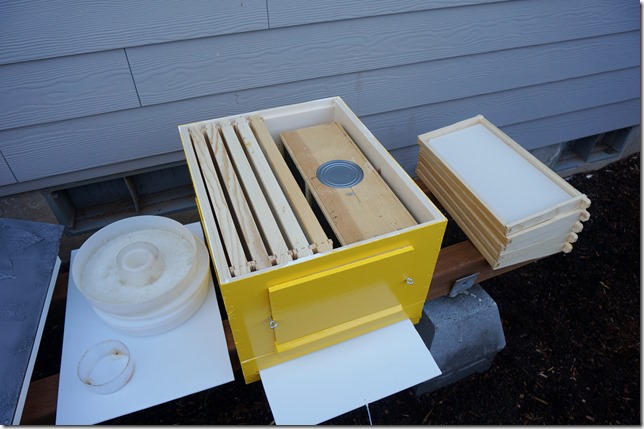
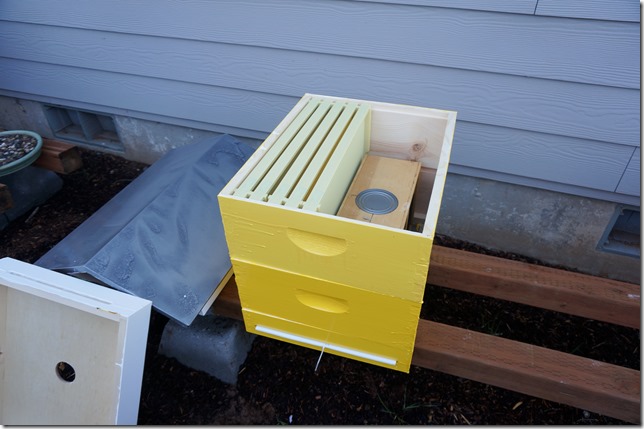
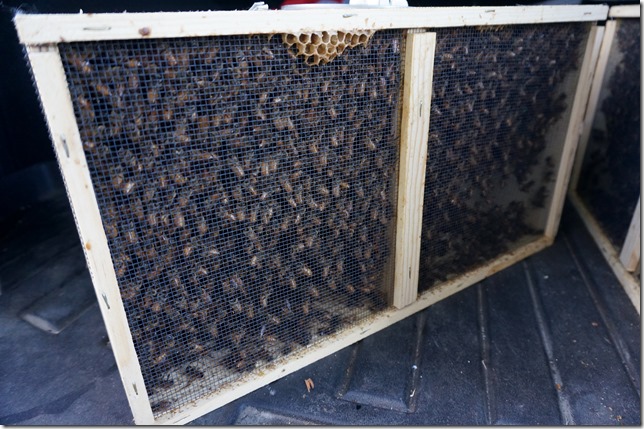
The perfect fit! When the bees arrive you pull out the can of sugar water and then place the bees in the hive box, like shown below. The bees then climb out of the box on their own accord and start building honeycomb in the hives.
We’ll be feeding the new bees sugar water for the first month or so until the nectar from the flowering blackberries starts.
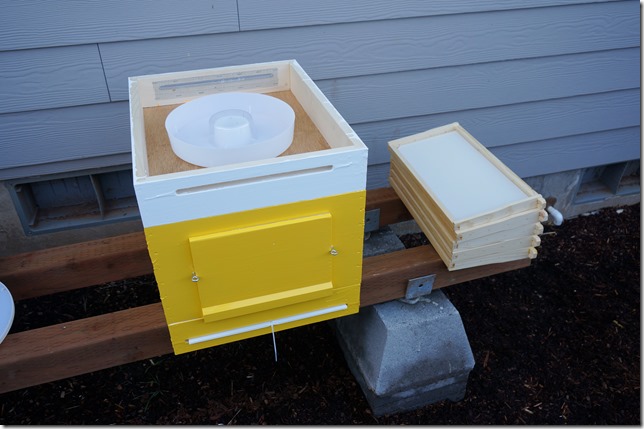
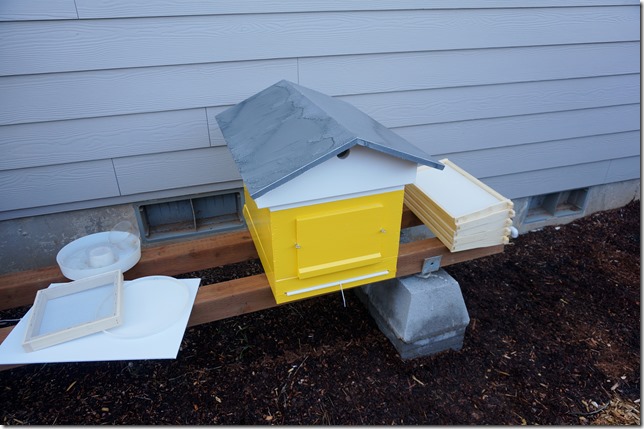
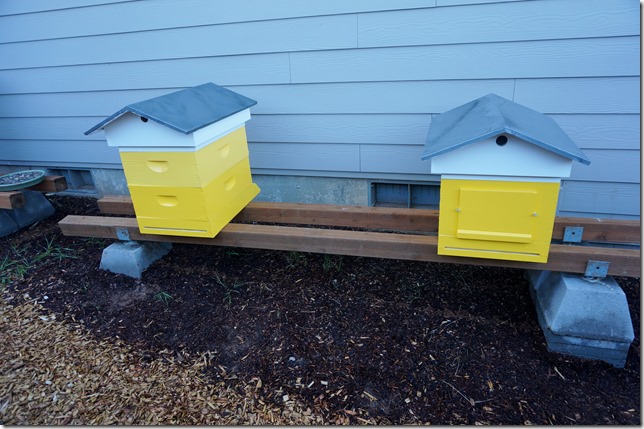
Such a cute little bee hive, and I love knowing that I’ll get to open that window and check in on them from time to time.
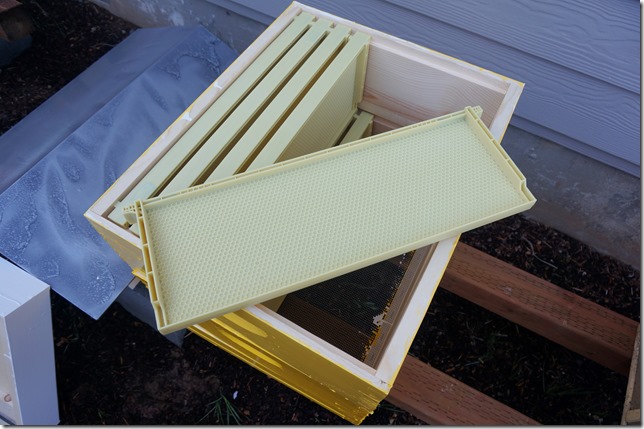
Now my other hive is a bit of an experiment, instead of using a brood box, I’ve decided to used honey supers so that each full box doesn’t weigh as much. We’re also trying out these plastic frames, we’ll see if the bees like them and hopefully learn something along the way!
Here you can see how it takes two honey supers to fit in the bee package because the super boxes are more shallow than the hive box in the pictures above.
Again, such happy little honey hives! And I’m really loving that I chose the color yellow, the hives really contrast against our bluish-grey house.
And now on to the honeybees…
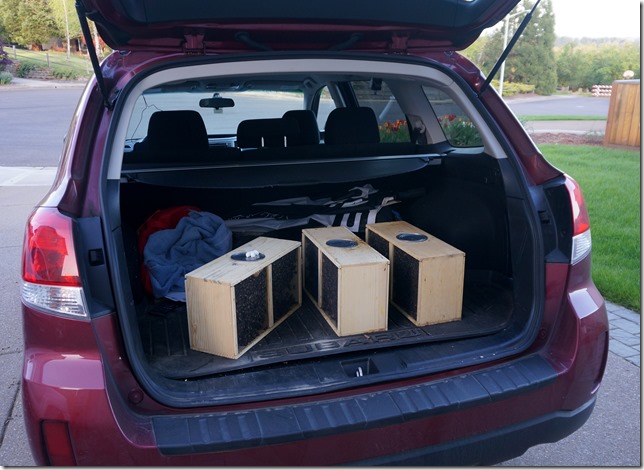
So I think I might win the award for bravest wife! ha! I drove these lovely honeybees home from Gladstone in the back of our Subaru. I’ll admit, I totally turned up the music in the car to drown out the sound of the bees and to calm my nerves a bit. I don’t think I’ve ever looked in the rearview mirror as much as I did on that drive home, I was so scared that someone might rear end my car with all the honeybees in the back.
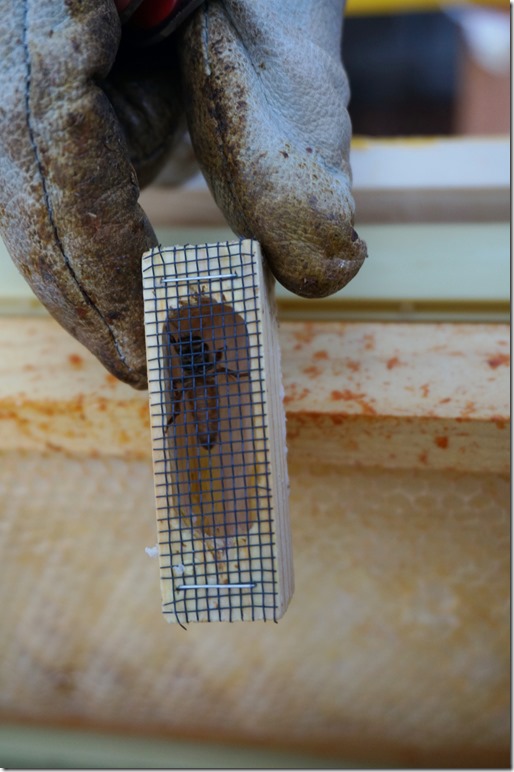
And here is one of our precious Queens! When you get your new set of bees they always have the queens in these “queen cages.” The bottom of the cage has a little hole in it that you fill with a marshmallow. The Queen from the inside and the worker bees from the outside will chew through the marshmallow in about two days, and will release the queen.
They put the queen in a cage like this, because she’s actually new to the hive. By giving the other bees a chance to smell her and get use to her they will bond to their Queen.
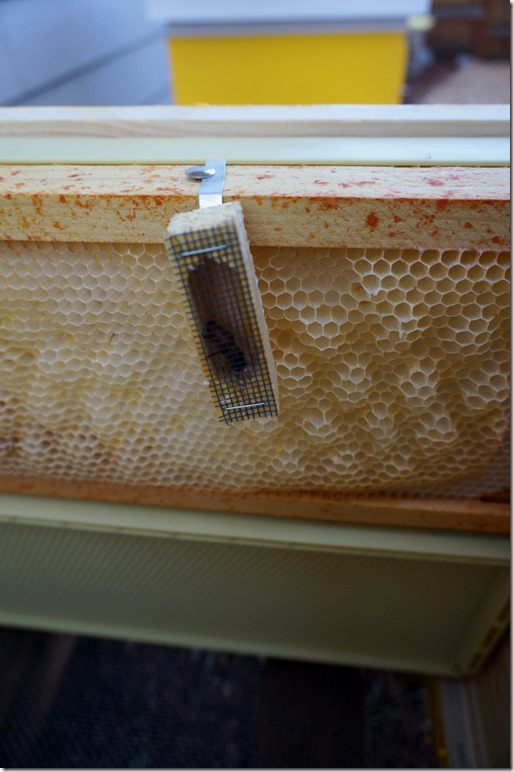
We tacked the Queen Cage to one of the frames and she’ll just hangout here until she’s released.
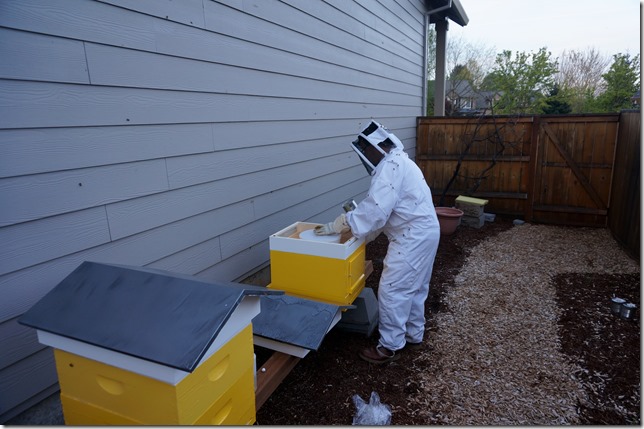
Putting honeybee packages into the hives is a really quick process, and so I didn’t end up with too many pictures of the event, but here is my Renaissance Man finishing things up by putting sugar water in the top of the hives for the honeybees.
It’s going to be a successful beekeeping season, I just know it!
[…] got a backlog of photos…please forgive me! We pulled the honeybee packages out of our new hives. We received our honeybees on April 15th, and general practice is to let the packages rest in the hive for 7-9 days so that the honeybees […]