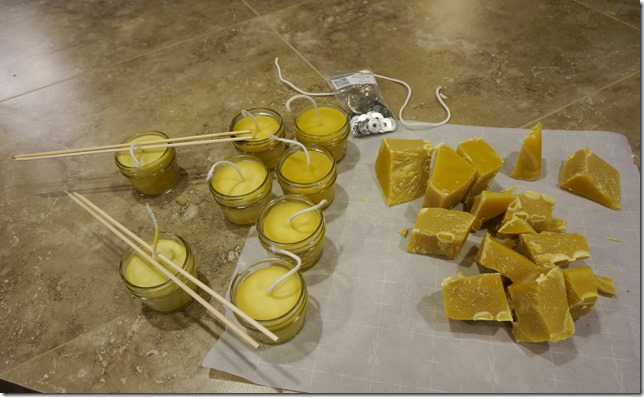
Have I mentioned before that our honeybees are amazing!? So amazing that I’m about to show you how to make candles out of beeswax! If you missed the first post in this series, go check out how we melted down our beeswax. As I stated in that post, we didn’t get enough beeswax of our own to make twelve candles, so I purchased some additional beeswax at our local beekeeping store, Ruhl Bee Supply.
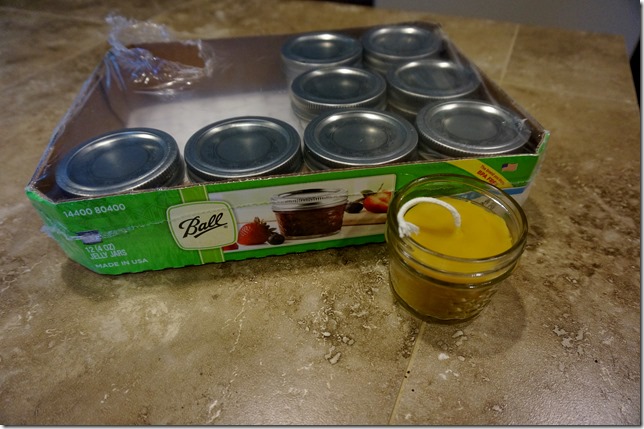
The first thing you need to do is figure out what type of candle you want to make. I decided to go with these mini Ball Jars that make nice size “votive” candles.
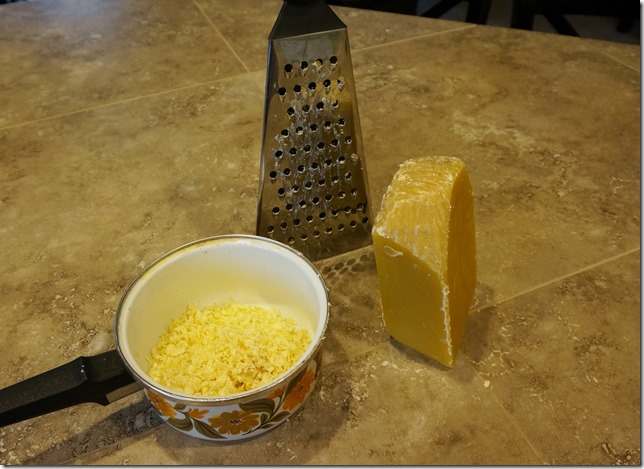
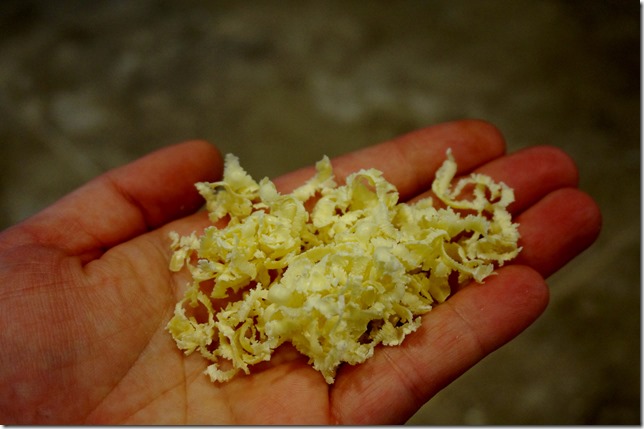
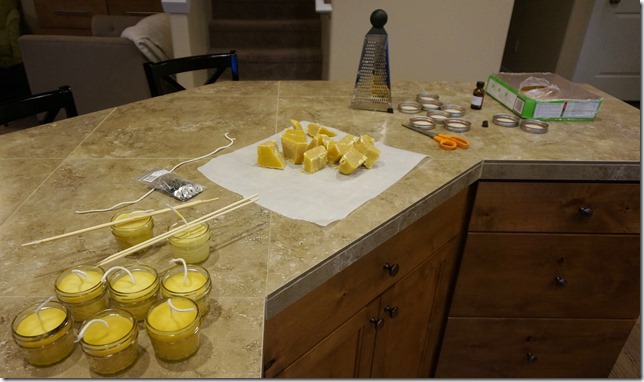
This is the chunk of additional wax that I bought from the Ruhl Bee Supply. The thing about a big piece of wax is that you need to figure out how to break it down so you can melt it. My first thought was to grate it…this totally worked, but also took a very, very long time. I’ll discuss a better option later in the post.
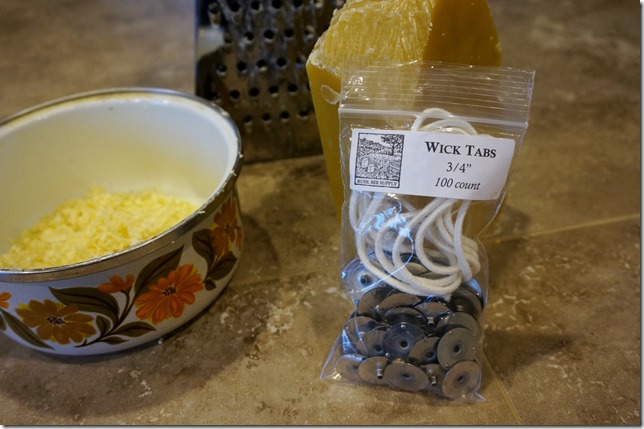
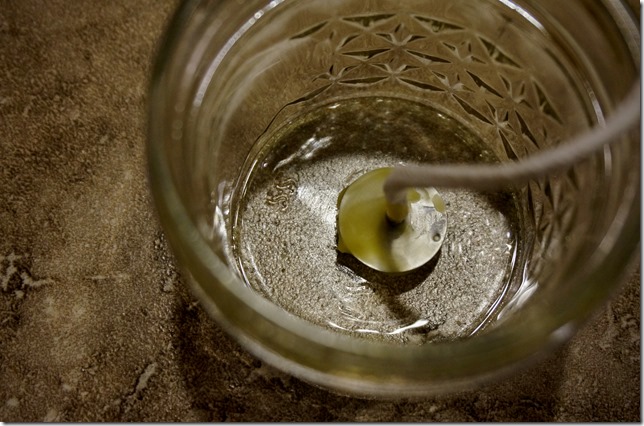
You’ll also need wick tabs. These tabs hold the wick in place and this whole package cost about $4 and had more than enough tabs to make a twelve pack of votive candles. I also went with a size #4 square wick based on the diameter of the jelly jar. Most candle supply stores will have a guide to help you figure out the correct size wick for the candle…the wick makes all the difference!
Once you have the wax in a manageable size, you can start to melt it. Unfortunately, I forgot to get pictures of my wax melting set-up, but I basically put together a double boiler system out of old pots and pans I purchased from Goodwill. Be sure to use old pots, because you’ll never get the wax out of them…they’ll essentially become your “candle making” pots.
Once your wax is hot and in liquid form, you just dip the wick tab in the wax and secure it to the bottom of your mason jar. From there, you carefully pour in the wax and fill up the jars.
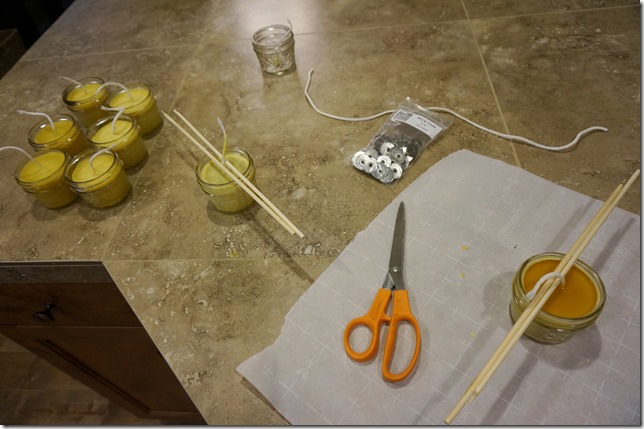
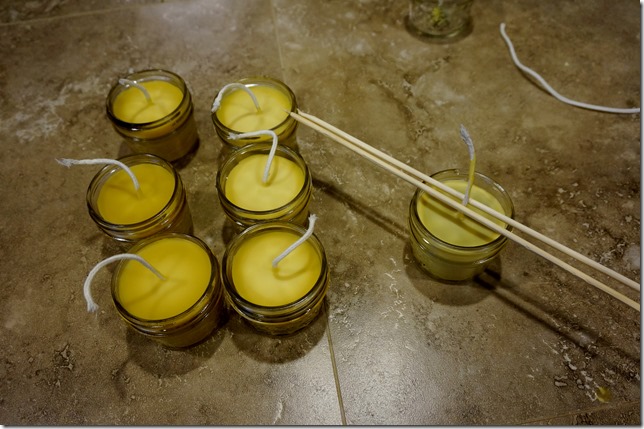
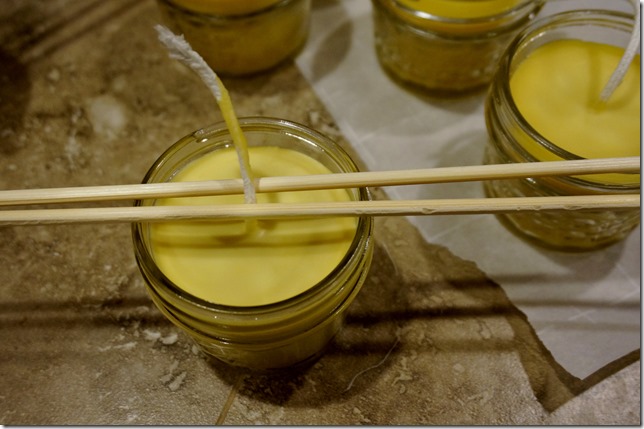
I recommend using newspaper, parchment paper, or wax paper to cover the surface you’ll be work on. Wax can be pretty difficult to get off the counters if you happen to spill some. Once you fill up the jars with wax, it’s important to support the wick in an upright position while the wax hardens. I used skewers to keep the wick centered and upright.
After grating wax for who knows how long The Renaissance Man took pity on me and offered to help. He promptly took the block of wax out to the garage and with the back end of a hammer was able to quickly break up the block into smaller more manageable sizes that would fit into my double boiler pot. I highly recommend this method if you end up with a large amount of wax!
The candles turned out really well and I’ve already burned through one of them…the light smell of beeswax is perfection. I’m so excited to share these handmade gifts with family and friends! If you can get your hands on some beeswax, this is a great holiday gift idea that doesn’t require too much work. And really…who doesn’t love getting crafty in the kitchen!? Enjoy!
